How to set up mountain bike suspension
Set up mountain bike suspension in a fixed order: spring or air pressure for sag first, then rebound, then compression, one change at a time. Fork and rear sag sit between 15% and 30% of travel, depending on the discipline. A recorded run then shows whether the bike really uses its travel.
Published
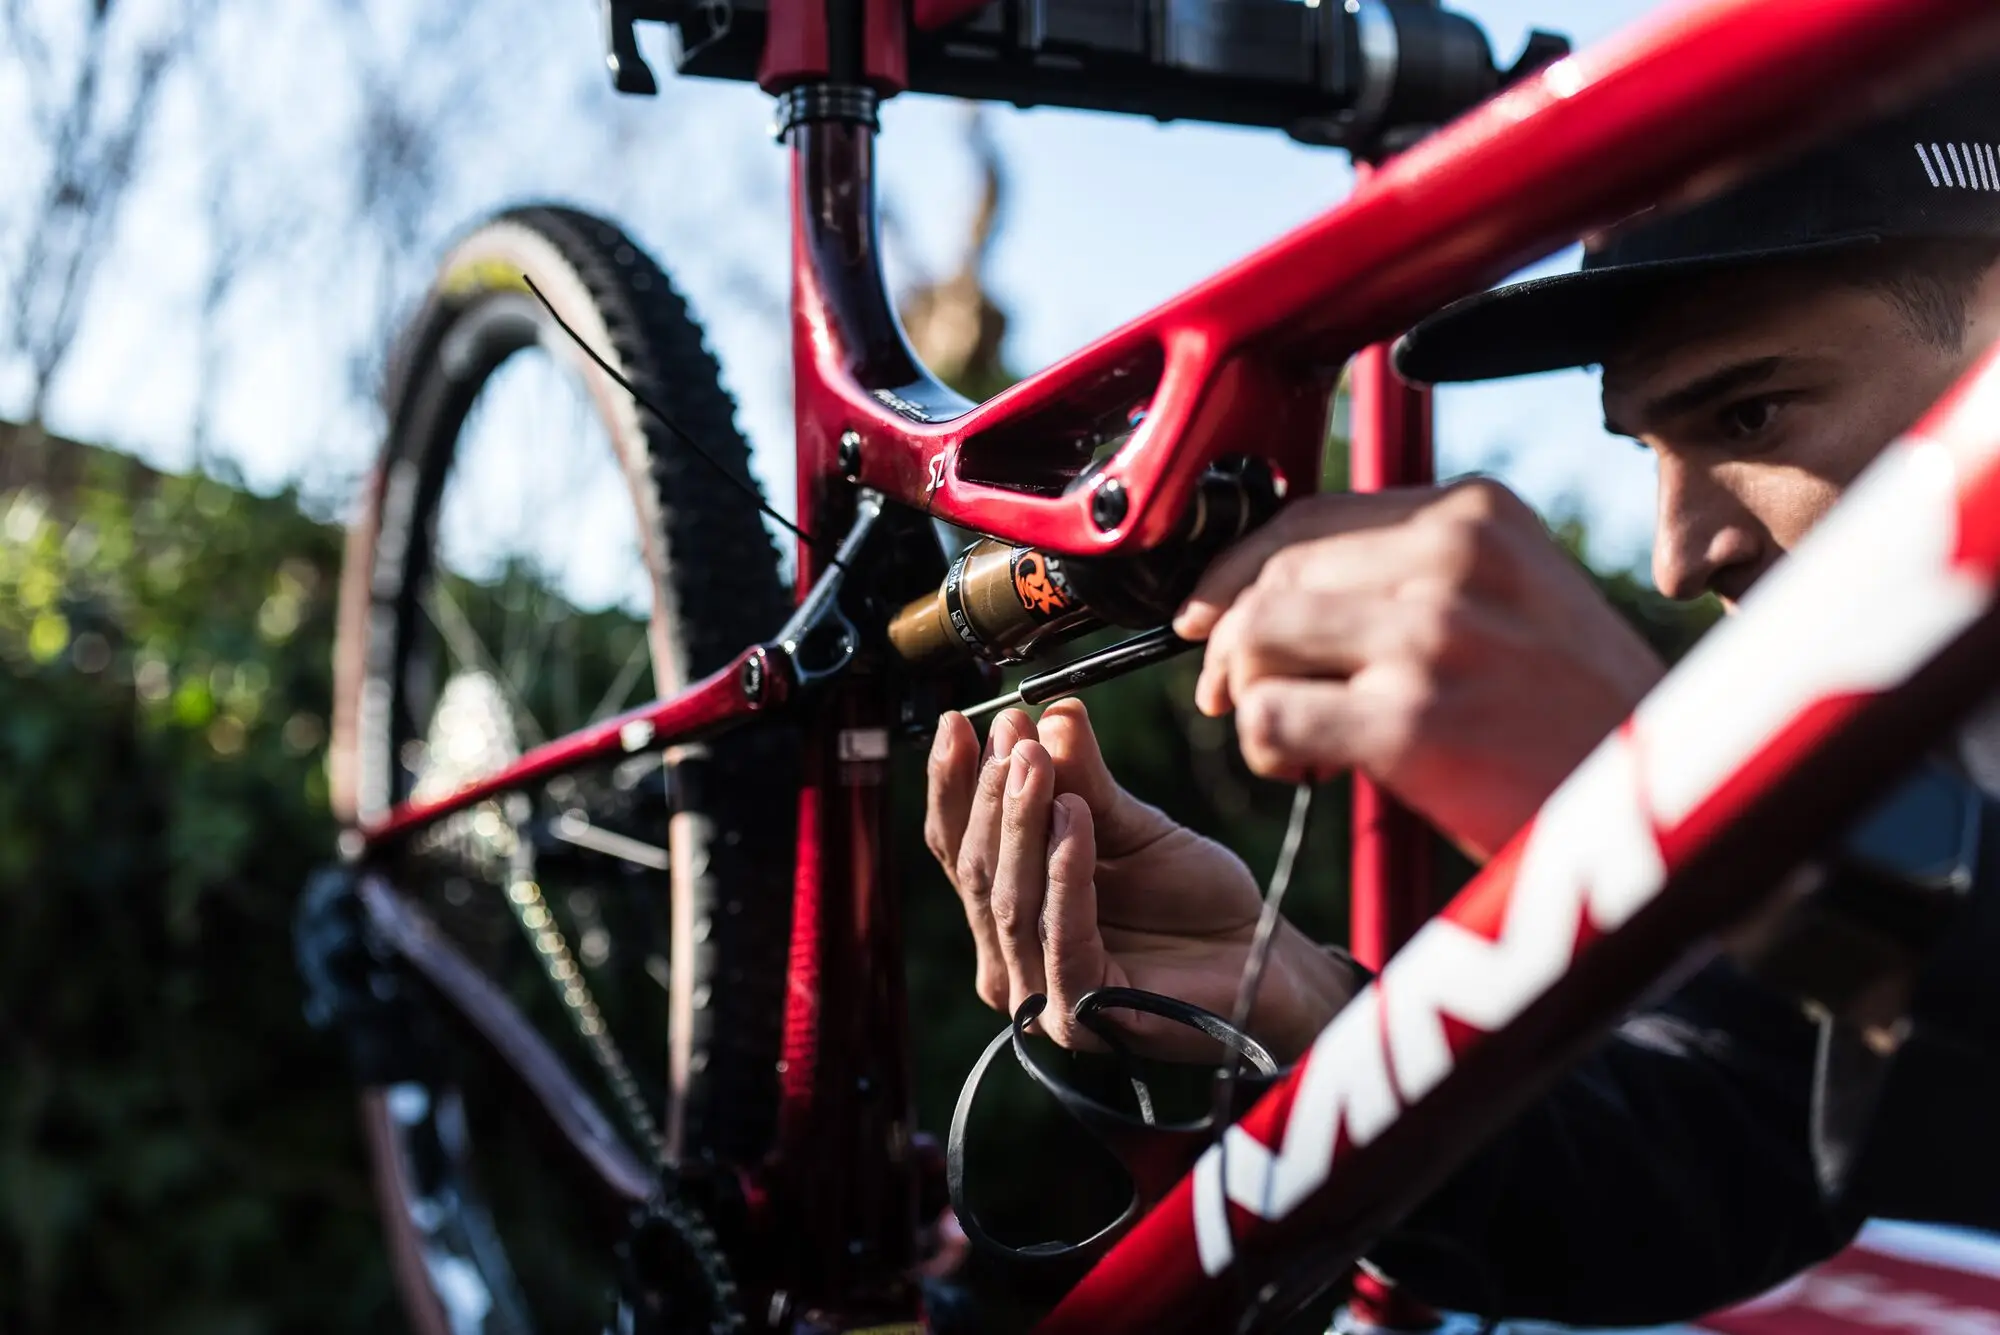
The order to set up mountain bike suspension
Each adjustment changes how the next one feels, so the order matters more than any single number. Sag sets where the suspension sits, rebound sets how fast it returns from there, and compression sets how hard it is to push deeper.
- Set the spring: air pressure or coil preload until sag sits inside the manufacturer's range
- Set rebound to the manufacturer's starting point, counted in clicks from fully closed
- Set compression to its starting position: centred on many current RockShox dampers, fully open on others
- Ride one test section you know, at the same effort, and record or note what the bike did
- Change one setting by one step, ride the same section again and compare the two runs
RockShox's own setup guide follows the same sequence. Its starting air pressure comes from the TrailHead app, the chart on the fork leg or the QR code on the crown, and its rebound suggestion is counted from the closed, slowest position.
How much sag a mountain bike needs
- Sag
- How far the suspension compresses under the rider's weight alone, given as a percentage of its travel. It comes first because rebound and compression are both tuned around that position.
Fork and rear sag sit between 15% and 30% of travel, depending on the discipline: toward 15% for cross-country, toward 30% for enduro and downhill. The figure your fork or shock manufacturer gives for the specific model comes first.
Measure sag seated for trail riding and standing in the attack position for enduro and downhill. The guide to measuring sag covers the o-ring method, how to read sag live in the BYB Telemetry app, and why dynamic sag on the trail differs from the static number. An e-MTB takes its pressures from its own chart, as e-MTB suspension setup shows.
A hardtail sets sag at the fork only; the rear shock, and the balance between the two ends, are covered in hardtail vs full suspension.
How big each adjustment step should be
Small steps keep cause and effect readable. RockShox's fine-tuning guide gives one increment per setting, and a change bigger than that makes it hard to tell which part of the difference came from where.
| Setting | One step |
|---|---|
| Air spring | 5 PSI |
| Low-speed compression | 2–3 clicks |
| High-speed compression | 1–2 clicks |
| Rebound | 1–2 clicks |
The settings interact. RockShox notes that taking 5–10 PSI out of an air spring can call for 1–2 clicks less rebound damping, because a softer spring returns the wheel with less force. What each damping circuit controls is covered in compression and rebound at high and low speed.
What a recorded run shows that feel cannot
Feel summarises a whole run, and it shifts with fatigue, grip and confidence. Suspension data acquisition records fork and shock position hundreds of times a second, 500 Hz on Telemetry V3 and 1000 Hz on Telemetry V3 Pro, so a change is checked against the bike rather than the mood.
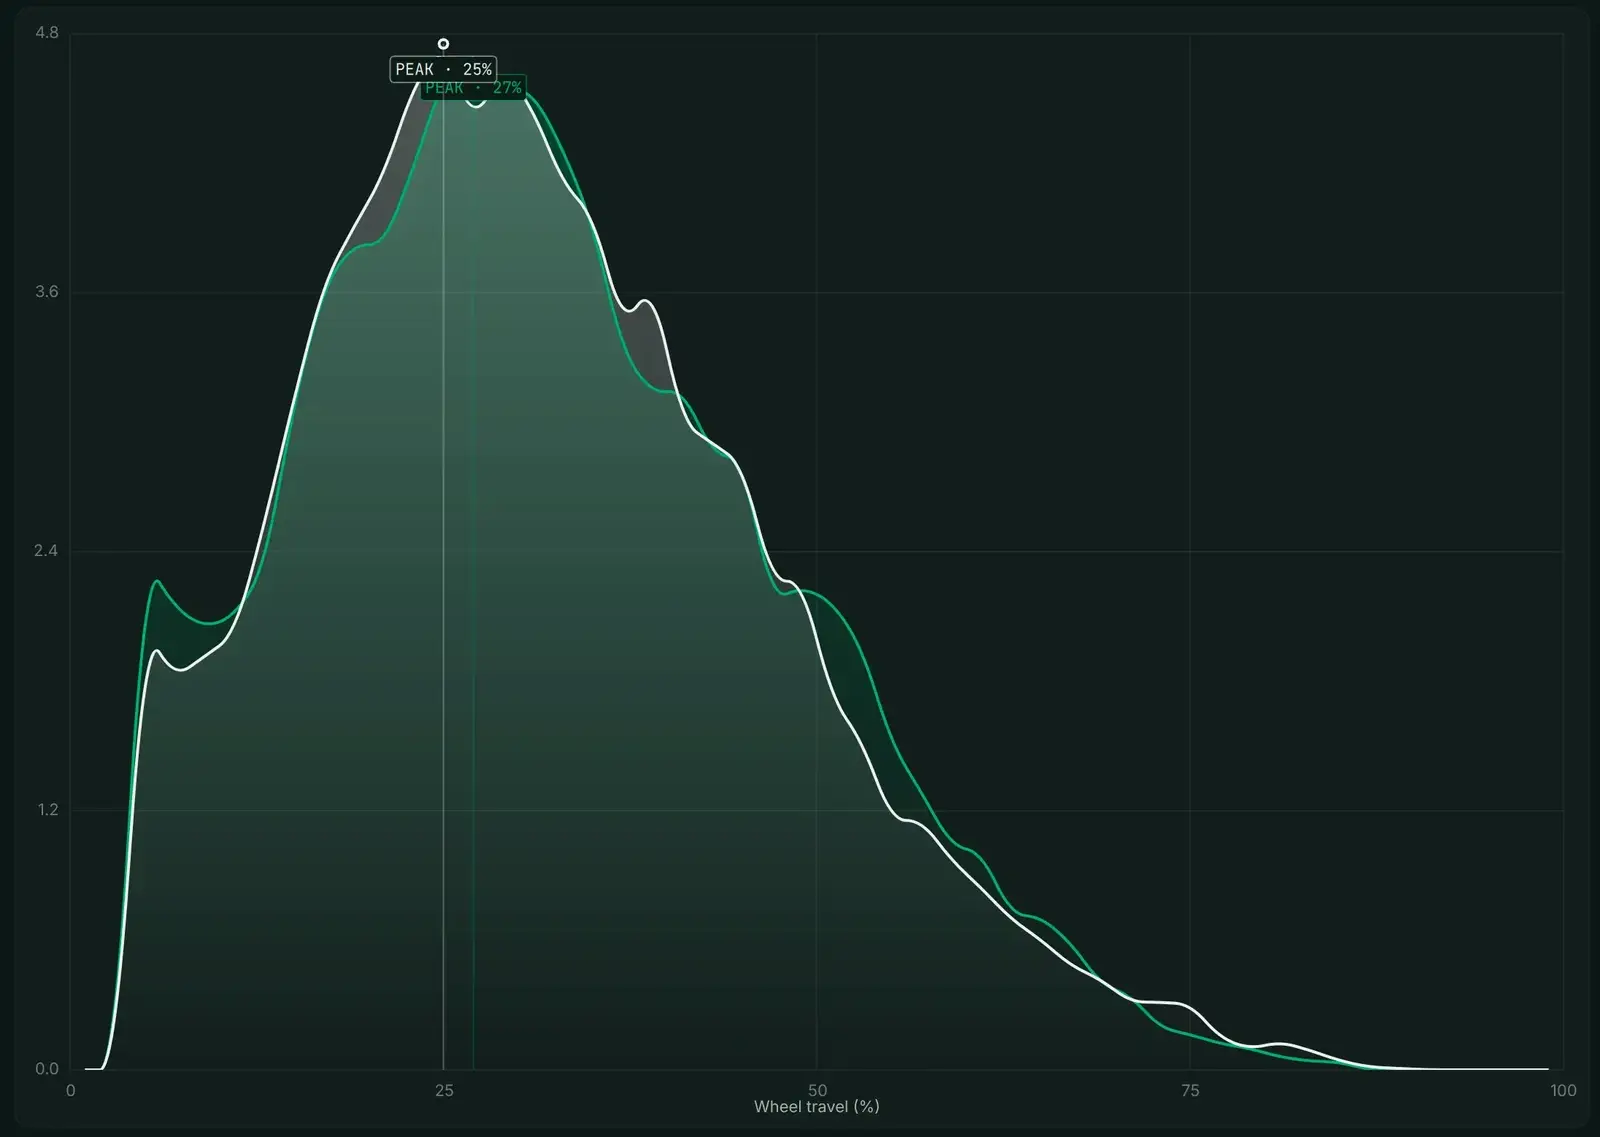
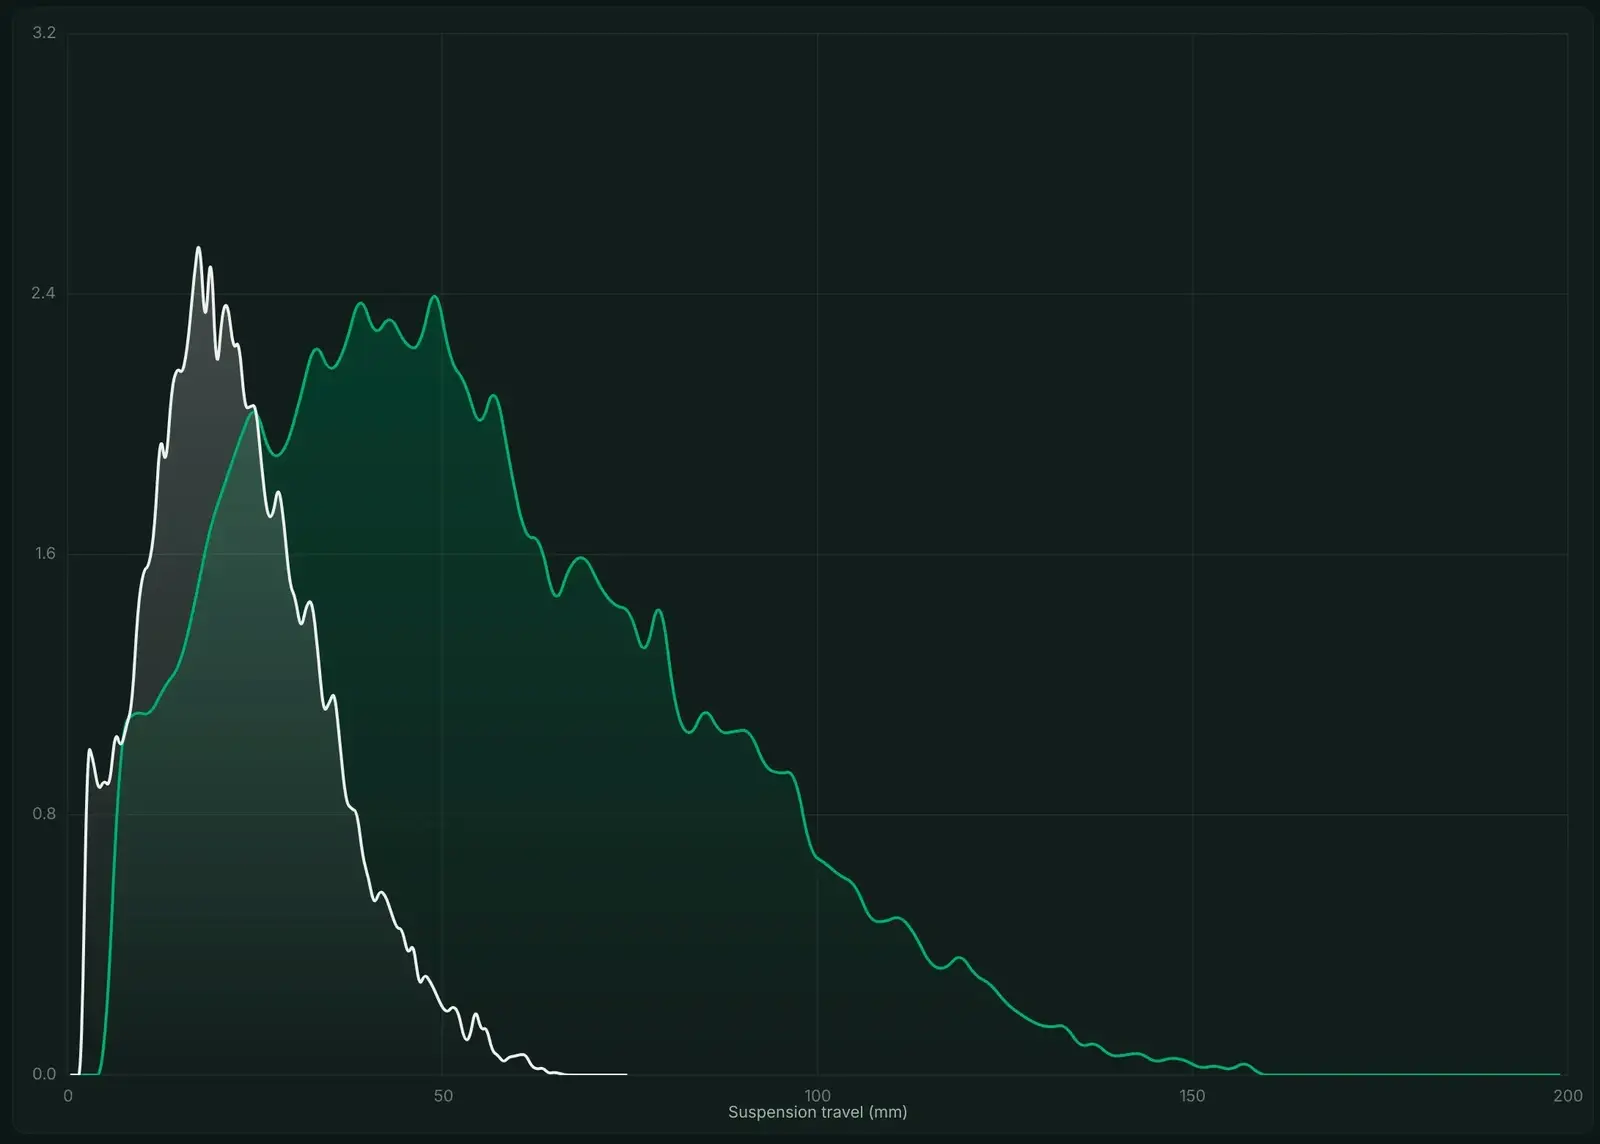
Reading those shapes is a skill of its own, covered in how to read a suspension travel histogram, and a spike against the end of the stroke is covered in fork bottoming out. Compare two runs of the same section against each other rather than against an ideal shape.
Setting up suspension with a shop
A BYB Point is an independent workshop that measures suspension as a service. In a session of a morning or a day, sensors go on the fork and shock, you ride the same trail several times, and the technician changes one thing between runs.
Every run is recorded 1000 times a second, so each change is judged against the run before it. You buy no hardware, and you leave with a saved baseline for the next service.
Common questions
- In what order should I set up mountain bike suspension?
- Sag first, then rebound, then compression. Sag fixes where the suspension sits, and rebound and compression are both tuned around that position, so changing the spring afterwards undoes them.
- How much sag should a trail bike have?
- Between 15% and 30% of travel at the fork and at the shock, depending on the discipline, measured as in how to measure sag. The figure your fork or shock manufacturer publishes for the specific model comes first.
- How many clicks should I change at a time?
- One step, then ride the same section again. RockShox's steps are 1–2 clicks of rebound or high-speed compression, 2–3 clicks of low-speed compression and 5 PSI of air.
- Do I need data acquisition to set up suspension?
- No. A shock pump, a ruler and a test section get a bike close. A recording adds what feel cannot give: how much travel each end used and whether one change made it better, at 500 Hz on Telemetry V3 or 1000 Hz on Telemetry V3 Pro.